MONA OS 2.0
 Partner with MONA







































 Free AI courses
 AI tools at work

 Tự động hoá doanh nghiệp
 Cẩm nang SEO
 Digital Marketing
 Kinh nghiệm thiết kế website
 Hạ Tầng Server
 Giáo dục


 VI
 EN


How to set up Google login for your MONA eLearning website
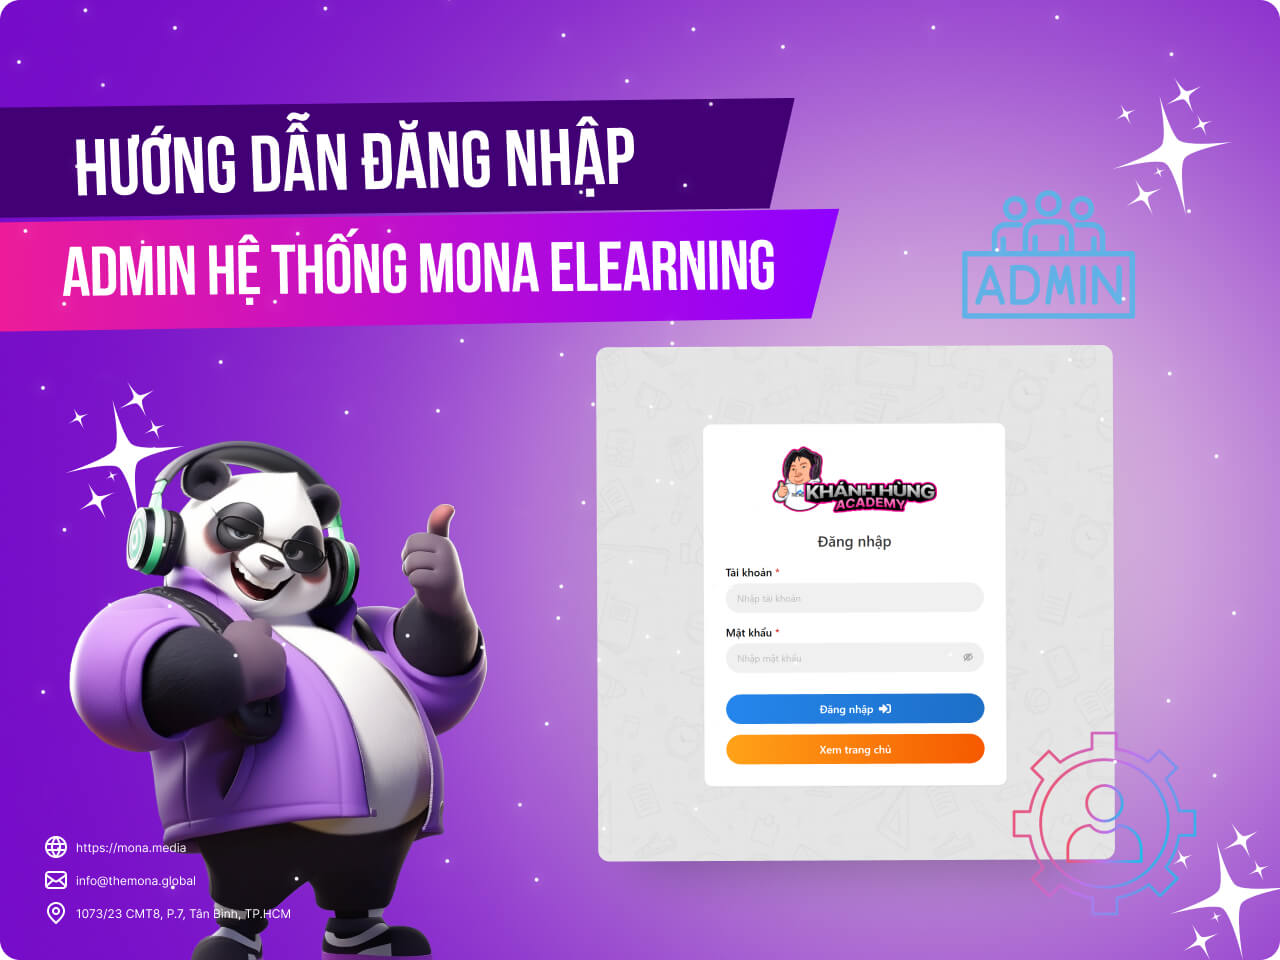
So that students can log in to your website and watch courses as quickly as possible, we recommend adding Google Account login.
Below are the steps to register with Google and connect it to your MONA Elearning website.
Step 1: Open the Google console
- Go to this link: https://console.cloud.google.com/
- Click the rectangle icon next to Google Cloud

Step 2: Create a project
- Click New Project to create a new one.

Step 3: Name the project
- Type Project Name of your own.
- Click Create to create the project.

Step 4: Select the project you created
- After creating it, click the rectangle icon
- Click the name of the project you created

Step 5: After selecting the project, go back to the home page for the next steps
- Click the project you created earlier
- Click the 3-line menu icon
- APIs & Services => Credentials

Step 6: Create an OAuth client ID
- Click Create Credentials
- Select OAuth client ID

Step 7: Click here to continue creating the OAuth client ID
- Click Configure Consent Sreen to continue creating it ID client OAuth

Step 8: Continue creating the OAuth client ID
- Click Get started to configure the OAuth ID

Step 9: Enter the app name and email to continue
- Enter the app name, usually your website name
- Enter your email address
- Then click “Next”

Step 10: Select External and click Next
- Select the Audience type “External”
- Click Next

Step 11: Enter the contact email and click Next
- Enter the email in the field Contact Information (you can enter multiple emails)
- Click “Next”

Step 12: Agree to the Google terms
- Tick
- Click “Contine”
- Click “Create” to finish the configuration

Step 13: Create Credentials
- Click API & Services
- Select Credentials

Step 14: Create an OAuth client ID for the Credentials
- In the Credentials
- Click Create Credentials
- Select OAuth client ID

Step 15: Configure the website to allow Google login
- Select Web Application
- Enter an OAuth name, usually the same as on your website
- URL 1: Your website domain.
- Example: https://anhtuan.mona.academy
- URL 2: Your website domain, with this added at the end: /?handle=google
- Finally, click “Create” to finish the configuration

Step 16: Copy the client ID and secret
- Go to Credentials
- Click the name of the project you created
- Then copy the 2 codes Client ID and Client Secret.

Step 17: Open the website settings in the admin to configure Google login
Go to Website Admin > Website Settings > General Settings > Google Login.

Step 18: Finish the configuration in the website admin

Step 19: Test the setup

Step 20: Click Google login
Try logging in on your website after the configuration

STEP 21: FINISH TESTING GOOGLE LOGIN

We hope your configuration goes smoothly by following the steps above.
For any questions about MONA Elearning, learners, colleagues and customers can contact MONA Media via the following:
- Hotline: 1900 636 648
- Email: info@themona.global
- Address: 1073/23 Cach Mang Thang 8, Ward 7, Tan Binh District, Ho Chi Minh City
MONA has a podcast: listen instead of readingEpisodes on AI, automation & SEO for Vietnamese businesses
Nghe ngay