
 MONA OS 2.0
 Partner with MONA


 Tự động hoá doanh nghiệp
 Cẩm nang SEO
 Digital Marketing
 Kinh nghiệm thiết kế website
 Hạ Tầng Server
 Giáo dục


 VI
 EN















Message us on
Zalo Official


 ProductsNew

 ProductsProducts
 Mới ra mắtKHA AI 2027App tự edit video, tự đăng mọi mạng xã hội, 2 phút mỗi ngày










 Website designLooks good and wins customers over.
SEO servicesBrings in customers searching for exactly what you sell.
 Tư vấn digital marketingKéo khách từ nhiều kênh, đo bằng số thật.
Corporate video productionVideos introducing your company, factory and team.
 NewAI video productionCompany story films made with AI.
 Custom software developmentCRM, ERP and HRM built for your business.
 Viết AI Agent theo yêu cầuĐặt riêng một trợ lý AI cho đúng việc của mình.
 Tư vấn chuyển đổi AIĐưa AI vào vận hành của cả công ty.
NewMONA LMSManagement for centers and schools.
MONA SkillHubInternal training for company staff.
 NHTQ systemEnd-to-end China–Vietnam shipping operations.
MONA JMSManagement for gold, diamond and pawn shops.
 MONA E-LearningA website with every feature you need to sell courses.
 How to sell online courses (course)More than 30 free lessons on selling courses on autopilot.
 MONA Cloudmonacloud.vnServers to get your apps and websites running.
 MONA Basemonabase.vnPostgres database, sign-in and file storage.
 MONA Mailmonamail.vnSend OTP, order and invoice emails from your software.
 MONA Paymonapay.vnAccept bank transfers via VietQR and notify your software when the money arrives.
 MONA eInvoiceComing soonIssue e-invoices that meet tax standards.
Gấu CườiTrả lời khách 24/7 trên web, Fanpage, Zalo và thu lead cho sale.
 Gấu TeleSalesGọi điện tư vấn, chăm khách như tổng đài viên thật.
Dê CườiTư vấn và chốt đơn cho shop ngay trong khung chat.
Gấu WebmasterNhắn nhóm Zalo là website được sửa xong.
 Gấu Pháp ChếSoạn hợp đồng, rà điều khoản trong vài phút.
 Gấu Báo GiáLên báo giá đúng mẫu và gửi khách ngay.
 AI chăm sóc khách hàngTheo dõi và giữ chân khách hàng cũ.
 Gấu Tuyển DụngLọc hồ sơ, hẹn lịch, phỏng vấn ứng viên.
 Mới ra mắt
KHA AI 2027
Xây kênh chuyên gia 2 phút mỗi ngày
Quay bằng điện thoại, AI tự edit video, tự đăng lên 16 nền tảng và tự trả lời bình luận, tin nhắn.
912.919lượt xem trên kênh CEO MONA sau 38 ngày
 Anh Khánh HùngCEO MONA đang dùng mỗi ngày
Xem app làm được gì
 AI
Gấu Cười MONA ĐANG TỰ XÀITrả lời khách 24/7 trên website, Zalo OA, Messenger và thu lead về cho sale.
Dê CườiChốt đơn bán lẻ và sàn: Shopee, TikTok Shop, web. Chăm cả khách sỉ, đại lý.
Gấu WebmasterCập nhật nội dung, tối ưu SEO website mỗi ngày.
Gấu TeleSalesGọi điện tư vấn, chăm khách như tổng đài viên thật.
Gấu Tuyển DụngLọc hồ sơ, hẹn lịch, phỏng vấn ứng viên tự động.
AI chăm sóc khách hàngGiữ khách cũ, cứu lead đã rớt cho phòng kinh doanh.
Gấu Pháp ChếSoạn hợp đồng, rà điều khoản trong vài phút.
Gấu Báo GiáLên báo giá đúng mẫu, gửi khách ngay khi có yêu cầu.
 Chuyển đổi AI toàn phầnGiải pháp tổng cho doanh nghiệp, 3 lớp triển khai.
 Viết AI Agent theo yêu cầuĐặt riêng một con AI gánh đúng nghiệp vụ của bạn.
 Custom softwareCRM, ERP and HRM with built-in AI automation.
 SEO & AEO thời đại AIĐược Google lẫn AI trích dẫn, không chỉ xếp hạng.
 Kiến thức AI cho doanh nghiệpBài phân tích, hướng dẫn ứng dụng AI vào vận hành.
 Free AI courses
 AI tools at work
App mới · KHA AI 2027
Xây kênh 2 phút mỗi ngày
AI tự edit video, tự đăng mọi mạng xã hội
Free consultation, 8am–10pm every day

08 May, 2025

As the market grows, so do the demands on product image quality. Consumers now care not only about what a product does but also about how it looks in every frame. But not everyone knows how to take beautiful product photos especially without experience or specialized gear. This article from MONA Media shares professional and easy-to-apply product photography tips to help you raise your product images in customers' eyes and grow sales!

Product photography is a type of commercial photography focused on creating photos that convey a product's information, quality and value to customers as convincingly as possible.
To create beautiful product photos, photographers need to flexibly combine light, composition, color, backdrop and careful post-production. That way the image is not only sharp and clear but also makes the product more appealing to viewers.
With fierce competition and increasingly demanding buyers, having professional product photos that show the true quality and value of your product is a big advantage. These images not only draw attention but also build customer trust and establish brand credibility in the market. So learning product photography guides and gathering more experience helps raise conversion rates and grow sales sustainably.
Taking beautiful product photos is more than pressing the shutter. It takes careful preparation and solid technique. Whether you are a beginner or have some experience, this article gives you an overview and detailed guidance on how to take beautiful product photos.
Before you start shooting, the right preparation decides whether your photo is sharp and good-looking. Follow the steps below to be ready.
The backdrop plays a big part in making your product stand out. A simple, clean backdrop keeps the product from blending into its surroundings. You do not need an elaborate background. A table and a product shooting box are enough to start. If you can, invest in a dedicated white sweep. If not, you can make one with a large sheet of white paper and a chair back.
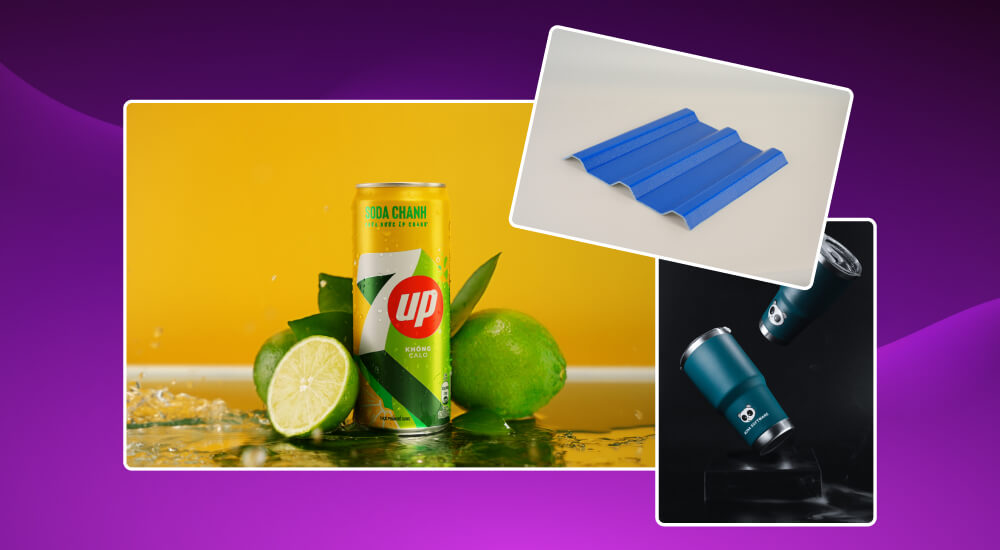
A lightbox is also a popular setup for people who want to shoot professional product photos at home. This kind of box has translucent walls that spread light evenly inside, make the product stand out and soften shadows. You can easily buy a lightbox at photography equipment stores or build one by following product photography tutorials online if you want to save money.
For beautiful product photos, you need suitable gear. You do not need an expensive camera. A smartphone with a good camera is enough. But if you want higher-quality photos, a DSLR or mirrorless camera gives you better control over detail. Do not forget a tripod to keep the camera steady and avoid blur.
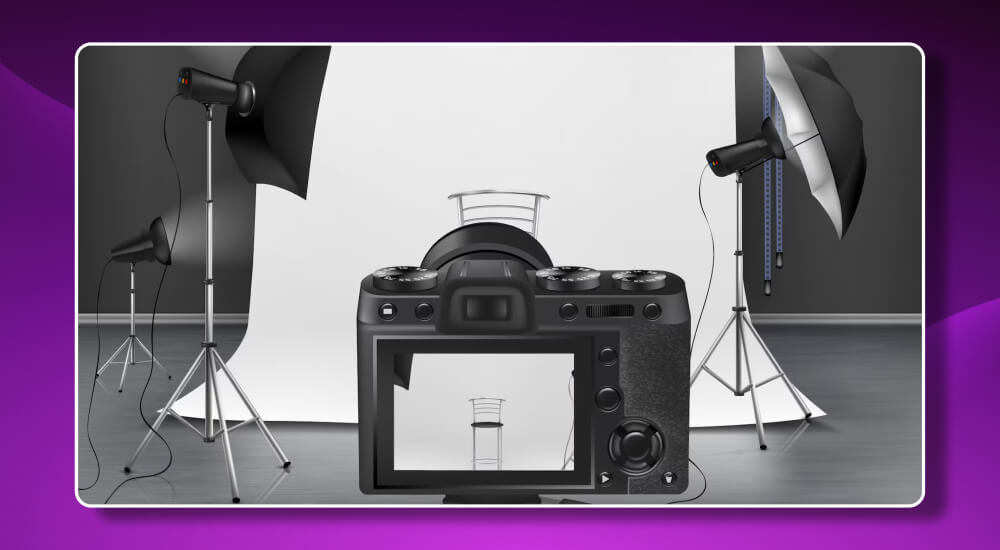
Before you start shooting, make sure your product is clean, with no stains or dust. This matters most for glossy products, where the light can reveal tiny marks.
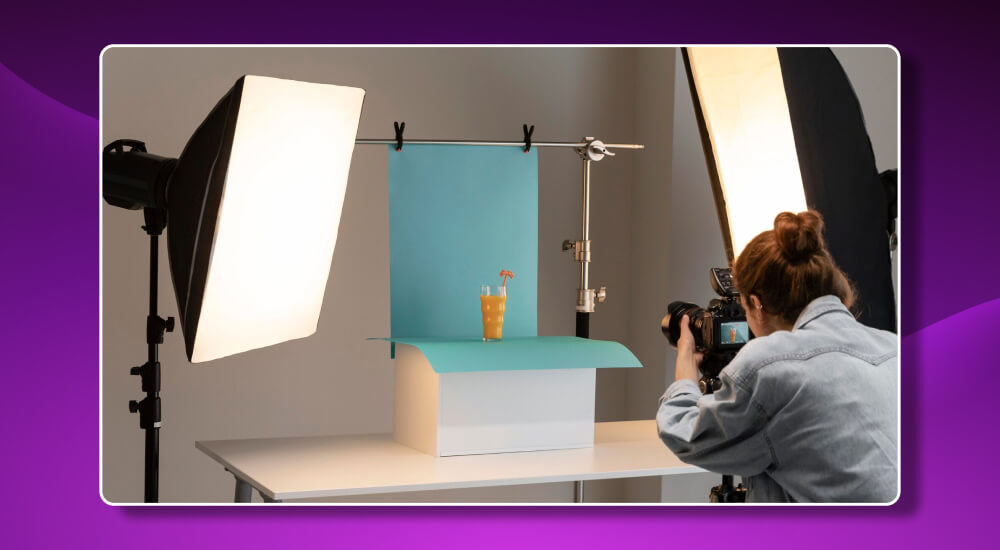
Besides the main product, prepare extra props such as flowers, leaves, fabric or related items to make the product stand out and bring out the shooting concept you want.
Once you are ready, the next step is to apply professional product photography techniques so your photo reaches the highest quality.
Light is the most important factor in beautiful product photos. Good light makes a product clear, sharp and prominent. You can use natural light, but if it is not enough, use lighting such as a softbox or ring light. Make sure the light is spread evenly and avoid shadows that hide the product.
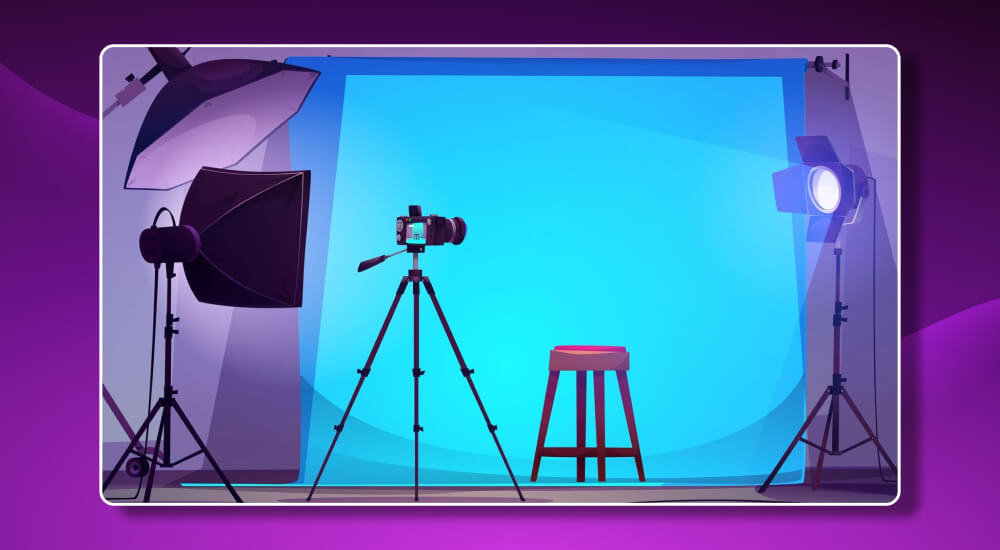
A product can leave a completely different impression from different angles. So choosing the right shooting angle matters, and it needs to meet two requirements:
To find beautiful product angles, try shooting from many different directions. Some common angles to try are:
Besides choosing shooting angles, you should also apply composition rules to make the photo stand out:
For product photos to look natural and good, pay attention to color and brightness balance. Make sure the product is not brighter or darker than it is in real life. You can adjust through camera settings or in editing afterwards.
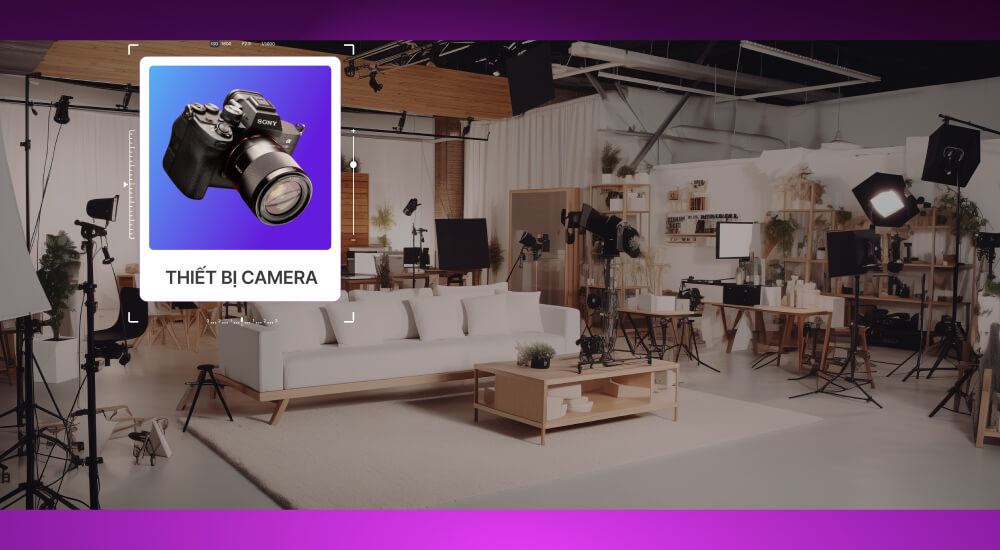
A good photo captures not only the overall shape but also the small details of the product. Pay attention to details such as stitching, patterns, materials or special features when taking professional product photos.
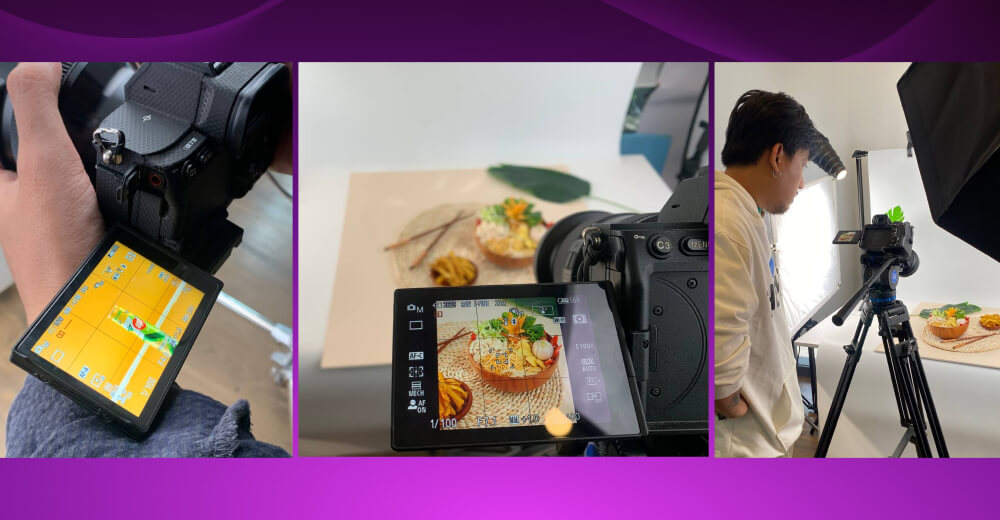
Professional product photography experience means you cannot skip the stage of photo post-production. Even if the original photo was shot carefully with good light and composition, photo editing is still needed to deliver sharper, more polished and more appealing photos.
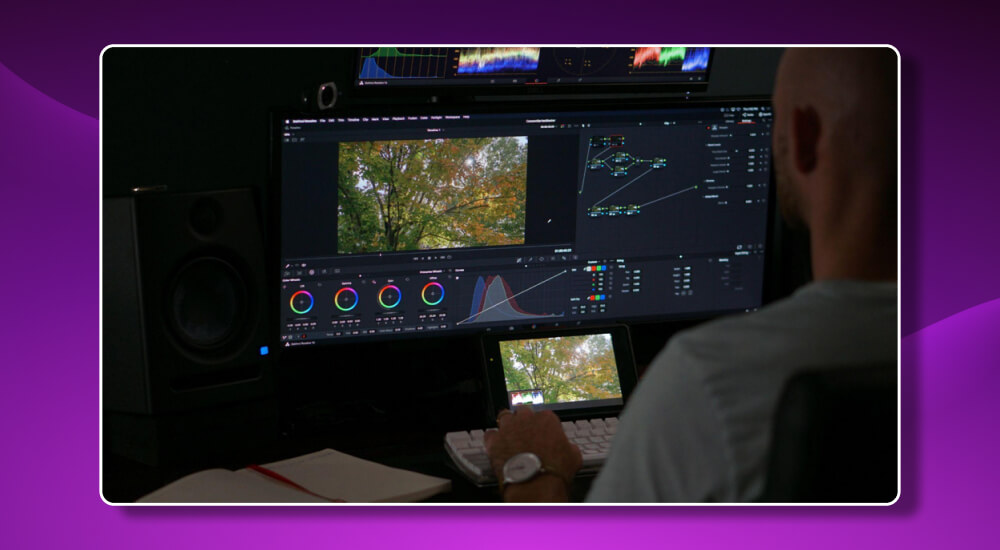
Below are the basic post-production and optimization steps commonly used in professional product shoots:
Each product suits a different shooting style, depending on the communication goal and the platform where the images are used. Understanding popular types of product photography today will help you choose the right style, bringing out the value and personality of each product.
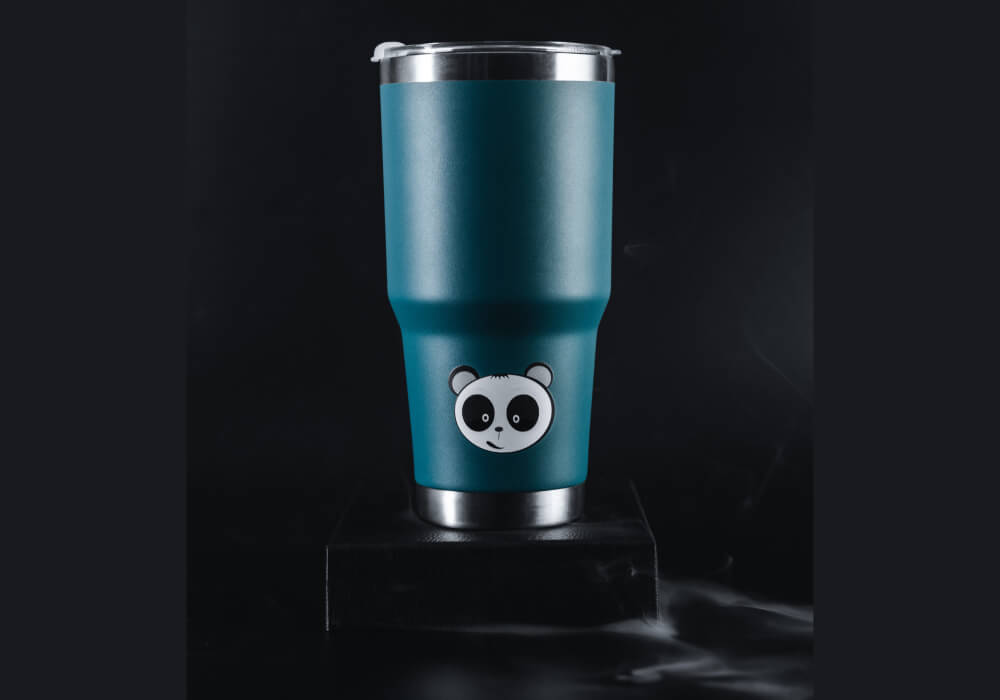
Single product photos is one of the most popular and effective styles in e-commerce and advertising. This type focuses on just one product in the frame, with no extra elements to distract the eye. This professional approach also makes it easy to remove the background for use in many other designs and communication purposes.
A few tips for single product photos that grab attention:
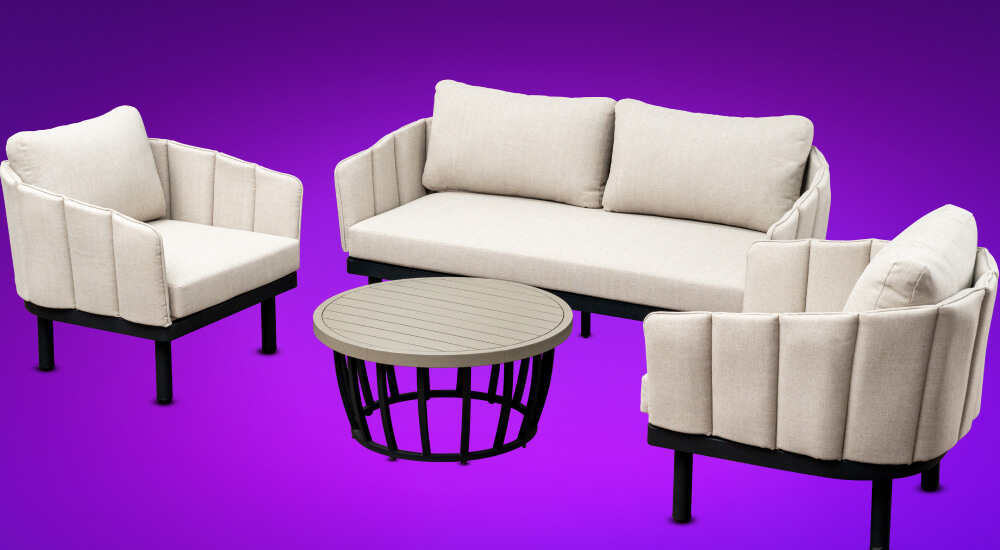
Group product photos show several products in the same frame, usually products from the same collection or product line. For example, a skincare set with cleanser, toner, serum and moisturizer placed side by side helps customers see how the products connect. That makes it easier to compare and choose, and customers tend to buy the full set rather than single items.
When shooting group product photos, here are some tips:
Among product photography styles, scale photos are a must if you want to show the true size of an item to customers. Instead of single images that can mislead, placing the product next to familiar objects such as a hand, a phone or a pen gives the eye a reference and makes the scale easy to picture. For example, a bracelet next to a coin shows its real size far better than a photo on its own.
A few small tips for scale photos:
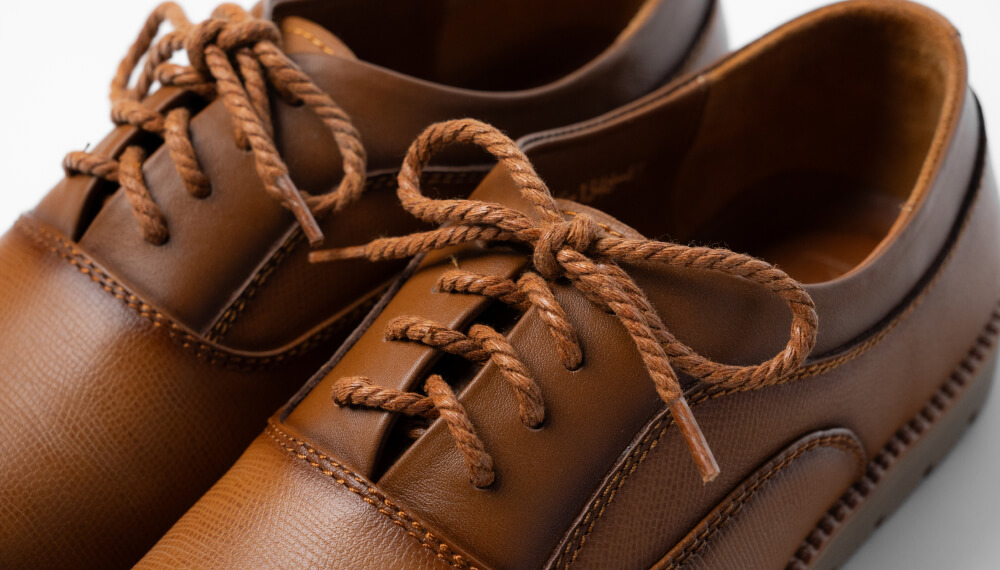
Detail images is an essential part of professional product photography. These images let customers see fine details the naked eye can easily miss. Tiny stitching on a leather wallet, the smooth surface of a shirt's fabric, or every small detail of a piece of jewelry all stand out in a close-up (also known as macro photography).
Here are some tips for this type of shot:

Packaging photos are a style that clearly shows the packing and outer design of a product. This is key to shaping the first impression in customers' eyes, especially for products displayed on shelves or sold online, where images stand in for the real experience.
For a beautiful packaging photo, here are some product photography tips to apply:
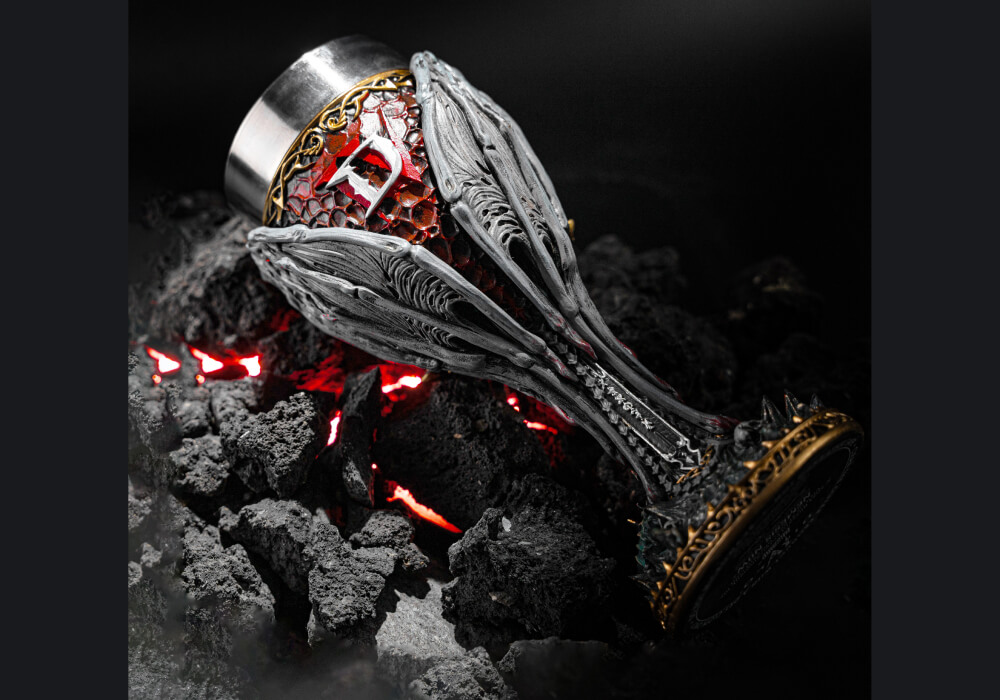
Lifestyle photos are a creative, engaging way to shoot products. Instead of simply presenting the product, lifestyle photos add emotional depth and build a natural link between product and user.
To get great results in a lifestyle product shoot, try these tips:
Flatlay photos are a style that shoots the product from above, often combining several products or accessories into a balanced, harmonious photo. This style not only makes the product stand out but also draws customers in with its attractive composition, which looks clean and refined. Flatlay photos have a special power to spark the wish to own the product and help viewers picture the item in daily life.
A few tips for flatlay product photos:
To get images that are both eye-catching and capture the spirit of the product, you need a bit of observation, a bit of creativity and some patience. Here are some tips for taking beautiful product photos that you can use to improve your image quality.
Besides the basic white backdrop, you can experiment with many other colors to bring out the product's character. For small items or neutral-colored products, deep or pastel backdrops add great depth.
You can also use natural backdrops such as a concrete wall, a tree stump, a street corner or a flower garden, as long as they are not too busy and do not distract viewers from the main product.
Shooting products does not mean sticking to one style forever. Changing the concept gives you more image options and gives viewers a fresh feeling. Each product photography style tells its own story, reflecting the spirit or use of the product.
Be bold and try different styles, from modern minimalist to vintage, nature or lifestyle. The more you try, the easier it is to find your own voice in product photography.
When shooting products, trying many camera angles helps you pick the best photo. Each angle can bring out different features of the product. In particular, try top-down, eye-level or tilted angles for a full view of the product. This helps you see details and differences in each angle more clearly, so you can choose the perfect photo.
Before you shoot, take time to get to know the product well. Look, touch and feel it to understand which strengths to highlight and which angles to hide. Once you truly understand the product, it is easier to put emotion into every frame.
You can also look at product photography guides from big brands or photographers with their own style. The point is not to copy but to learn how they think about composition, use light and handle details. Over time you will build your skills and find more inspiration for your photo set.
Although props can make product photos more attractive, using too many can make the product "get lost" in the scene and make it hard for customers to focus on the main item. When shooting, make sure props only help the product stand out without splitting attention. Props should be simple and fit the product so they do not interfere with the message you want to convey.
You can absolutely use a phone to take beautiful product photos if your phone has a good camera. Today's smartphones can produce sharp, detailed photos, as long as you pay attention to light and angle. This is very convenient for anyone who wants to start product photography without investing in an expensive camera.
Editing product photos is a must if you want your pictures to be perfect. After shooting, you can improve brightness, contrast and color so the product looks more eye-catching and sharp. This is very important for beautiful product photos that grab customers' attention and improve image quality on your website or e-commerce platform.
Light is the deciding factor in professional product photography. You can use natural light, but if not, lighting such as a softbox or ring light spreads the light evenly and avoids shadows. One product photography tip is to make sure the light is strong enough and soft enough to make the product stand out without exposing flaws.
Not necessarily. Beautiful product photos do not need an expensive camera. You can create high-quality photos with a phone or an inexpensive camera if you apply the right techniques, such as choosing a good angle and using good light. Still, if you want to raise photo quality further, a professional camera gives you better control over sharpness and detail.
Product photography is not just about making nice pictures. It is a whole process of shaping emotion and persuading buyers at first sight. Whether it is light, angle or composition, every factor helps shape the feeling a product photo set gives viewers and directly affects the buying decision. We hope the content of guide to taking beautiful product photos above gives you useful reference to apply in your marketing campaign.

If you want to "upgrade" your brand's product images but do not have a team or enough time to do it yourself, the MONA Media team is always ready to work with you. See Product photography services from us through the contact details below:
→ See more professional filming and photography services at MONA Media:

CEO & Founder · The MONA
Founder of The MONA, who built a services company of 60+ staff with 14,000+ projects delivered. Khánh Hùng shares how he thinks about building systems that run themselves, automating a business, and the real lessons from delivering projects at MONA.
 1,6K




Professional website
design services
Own a website with a beautiful, 100% exclusive design and a lifetime warranty, with the ability
to expand features flexibly as your business grows, starting today!






 MONA will never sell your information or send you spam


 MONA will never sell your information or send you spam
