
 MONA OS 2.0
 Partner with MONA


 Tự động hoá doanh nghiệp
 Cẩm nang SEO
 Digital Marketing
 Kinh nghiệm thiết kế website
 Hạ Tầng Server
 Giáo dục


 VI
 EN










Message us on
Zalo Official


 ProductsNew

 ProductsProducts
 Mới ra mắtKHA AI 2027App tự edit video, tự đăng mọi mạng xã hội, 2 phút mỗi ngày










 Website designLooks good and wins customers over.
SEO servicesBrings in customers searching for exactly what you sell.
 Tư vấn digital marketingKéo khách từ nhiều kênh, đo bằng số thật.
Corporate video productionVideos introducing your company, factory and team.
 NewAI video productionCompany story films made with AI.
 Custom software developmentCRM, ERP and HRM built for your business.
 Viết AI Agent theo yêu cầuĐặt riêng một trợ lý AI cho đúng việc của mình.
 Tư vấn chuyển đổi AIĐưa AI vào vận hành của cả công ty.
NewMONA LMSManagement for centers and schools.
MONA SkillHubInternal training for company staff.
 NHTQ systemEnd-to-end China–Vietnam shipping operations.
MONA JMSManagement for gold, diamond and pawn shops.
 MONA E-LearningA website with every feature you need to sell courses.
 How to sell online courses (course)More than 30 free lessons on selling courses on autopilot.
 MONA Cloudmonacloud.vnServers to get your apps and websites running.
 MONA Basemonabase.vnPostgres database, sign-in and file storage.
 MONA Mailmonamail.vnSend OTP, order and invoice emails from your software.
 MONA Paymonapay.vnAccept bank transfers via VietQR and notify your software when the money arrives.
 MONA eInvoiceComing soonIssue e-invoices that meet tax standards.
Gấu CườiTrả lời khách 24/7 trên web, Fanpage, Zalo và thu lead cho sale.
 Gấu TeleSalesGọi điện tư vấn, chăm khách như tổng đài viên thật.
Dê CườiTư vấn và chốt đơn cho shop ngay trong khung chat.
Gấu WebmasterNhắn nhóm Zalo là website được sửa xong.
 Gấu Pháp ChếSoạn hợp đồng, rà điều khoản trong vài phút.
 Gấu Báo GiáLên báo giá đúng mẫu và gửi khách ngay.
 AI chăm sóc khách hàngTheo dõi và giữ chân khách hàng cũ.
 Gấu Tuyển DụngLọc hồ sơ, hẹn lịch, phỏng vấn ứng viên.
 Mới ra mắt
KHA AI 2027
Xây kênh chuyên gia 2 phút mỗi ngày
Quay bằng điện thoại, AI tự edit video, tự đăng lên 16 nền tảng và tự trả lời bình luận, tin nhắn.
889.618lượt xem trên kênh CEO MONA sau 36 ngày
 Anh Khánh HùngCEO MONA đang dùng mỗi ngày
Xem app làm được gì
 AI
Gấu Cười MONA ĐANG TỰ XÀITrả lời khách 24/7 trên website, Zalo OA, Messenger và thu lead về cho sale.
Dê CườiChốt đơn bán lẻ và sàn: Shopee, TikTok Shop, web. Chăm cả khách sỉ, đại lý.
Gấu WebmasterCập nhật nội dung, tối ưu SEO website mỗi ngày.
Gấu TeleSalesGọi điện tư vấn, chăm khách như tổng đài viên thật.
Gấu Tuyển DụngLọc hồ sơ, hẹn lịch, phỏng vấn ứng viên tự động.
AI chăm sóc khách hàngGiữ khách cũ, cứu lead đã rớt cho phòng kinh doanh.
Gấu Pháp ChếSoạn hợp đồng, rà điều khoản trong vài phút.
Gấu Báo GiáLên báo giá đúng mẫu, gửi khách ngay khi có yêu cầu.
 Chuyển đổi AI toàn phầnGiải pháp tổng cho doanh nghiệp, 3 lớp triển khai.
 Viết AI Agent theo yêu cầuĐặt riêng một con AI gánh đúng nghiệp vụ của bạn.
 Custom softwareCRM, ERP and HRM with built-in AI automation.
 SEO & AEO thời đại AIĐược Google lẫn AI trích dẫn, không chỉ xếp hạng.
 Kiến thức AI cho doanh nghiệpBài phân tích, hướng dẫn ứng dụng AI vào vận hành.
 Free AI courses
 AI tools at work
App mới · KHA AI 2027
Xây kênh 2 phút mỗi ngày
AI tự edit video, tự đăng mọi mạng xã hội
Free consultation, 8am–10pm every day

25 July, 2026
🎓 Free course: Claude Code basics, lesson 2/10. The whole course is in the category Free AI courses package from MONA?
After this lesson, you'll be able to build a complete website with Claude Code without writing a single line of code, understand what the CLAUDE.md file is and why it decides whether the machine works well or badly, and know the three ways of briefing a design that professionals use. This is the first “for real” lesson, so open your machine and follow along as you read.
In lesson 1 we installed Claude Code in the terminal and in VS Code. There is one more option worth knowing: Antigravity (download at antigravity.google, choosing the version for your operating system). It's made by Google and built on VS Code, so the layout is identical: folder tree on the left, file editor in the middle, AI chat panel on the right. The difference: a newer interface that leans heavily toward AI.
A small note on using Claude Code in Antigravity: since this is a Google product, the default chat panel is their Gemini. To use Claude Code, install the Claude Code extension (as you did for VS Code in lesson 1), then click the Claude icon to open the Claude Code chat panel instead of the default one. Which IDE you use matters less than using it fluently. In this course we mostly work in the terminal, and open the IDE where we need to see files visually.
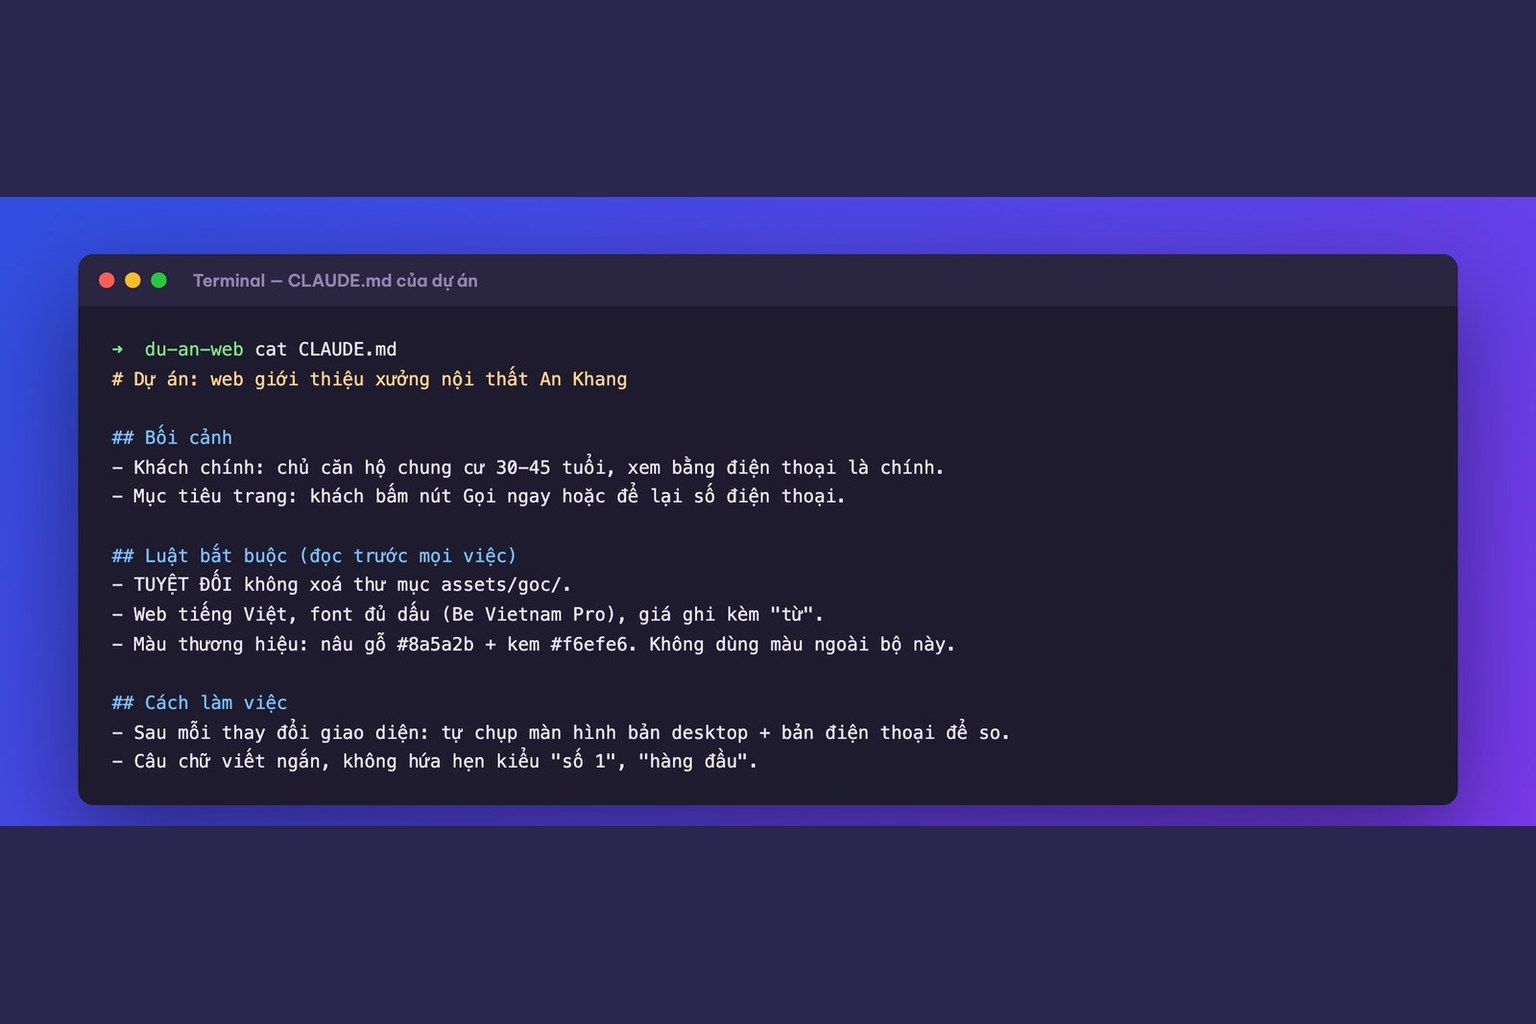
Before building anything, you need to understand the most important concept in the whole course: the CLAUDE.md file placed in your project folder.
The mechanism is simple but powerful: every time you open a Claude Code session in that folder, the contents of this file are automatically placed at the start of the conversation, even before the first sentence you type. That means the machine always “reads the instructions” before it hears you. You no longer have to repeat the rules, your tastes and the project background in every command.
Why does that matter so much? Picture a ship leaving port in the Americas bound for Africa, sailing tens of thousands of kilometers. If it's off by just a few degrees at departure, it ends up a thousand kilometers from its destination. AI is the same: a small deviation at the starting point balloons over each step of the work. CLAUDE.md is the course correction at departure: it narrows the zone where the machine could “misunderstand” right from the start, so even if the machine drifts a little, the result still lands close to what you meant.
What should go in CLAUDE.md? Keep it short: what the project is, who it's for, the mandatory rules (for example “Vietnamese website, fonts with full diacritics, the brand color tone is X”), and how you want the machine to work. At MONA every project has a file like this, and we treat it like a job description handed to a new employee: the clearer you write it, the fewer questions they ask back.

Claude Code now web design looks good enough that most samples on high-end design showcase sites can be rebuilt in about ten minutes. The question is no longer “can the machine make it look good” but how you brief it. There are three common ways:
Way 1: give a reference + let the machine check itself in the mirror (the strongest). You give a screenshot of a website you like as the reference, then let the machine screenshot its own result to compare against it. The loop runs automatically: the first version matches the reference about 80%, the machine screenshots, compares, lists the differences, fixes it up to 90%, then 95%, then near-exact. You don't copy anyone's content, you only borrow the aesthetic frame: font sizes, colors, button styles. The content is replaced with your own business.
Tip for capturing a full long page: open the reference page in Chrome, right-click and choose Inspect, then open the command bar (Command + Shift + P on Mac, Ctrl + Shift + P on Windows), type “screenshot” and choose capture full size screenshot. The browser scrolls and captures the whole page top to bottom. The image is usually heavy, so compress it to under about 4-5 MB (any online image compressor works) before giving it to the machine, to save tokens.
Way 2: unload it all by voice. People type 50-70 words a minute, but speak up to 200. Using a speech-to-text tool, you describe in one go everything you want on the page: what you sell, who your customers are, how many content blocks you need, what tone you like. This doesn't produce a beautiful version right away because there's no aesthetic reference, but a few rounds back and forth gets you there, and it's much faster than sitting down to write a description.
Way 3: assemble ready-made components. There are libraries of “interface components” (like 21st.dev) where designers share individual blocks: buttons, login frames, animated backgrounds. Each block has a copy-command button. You paste it into Claude Code and say “put this at the top of the page”. It works when you want to pick up a few polished details. But from real experience, ours and that of those who went before: option 1 is still the shortest path for beginners.
A simple process for your first time:
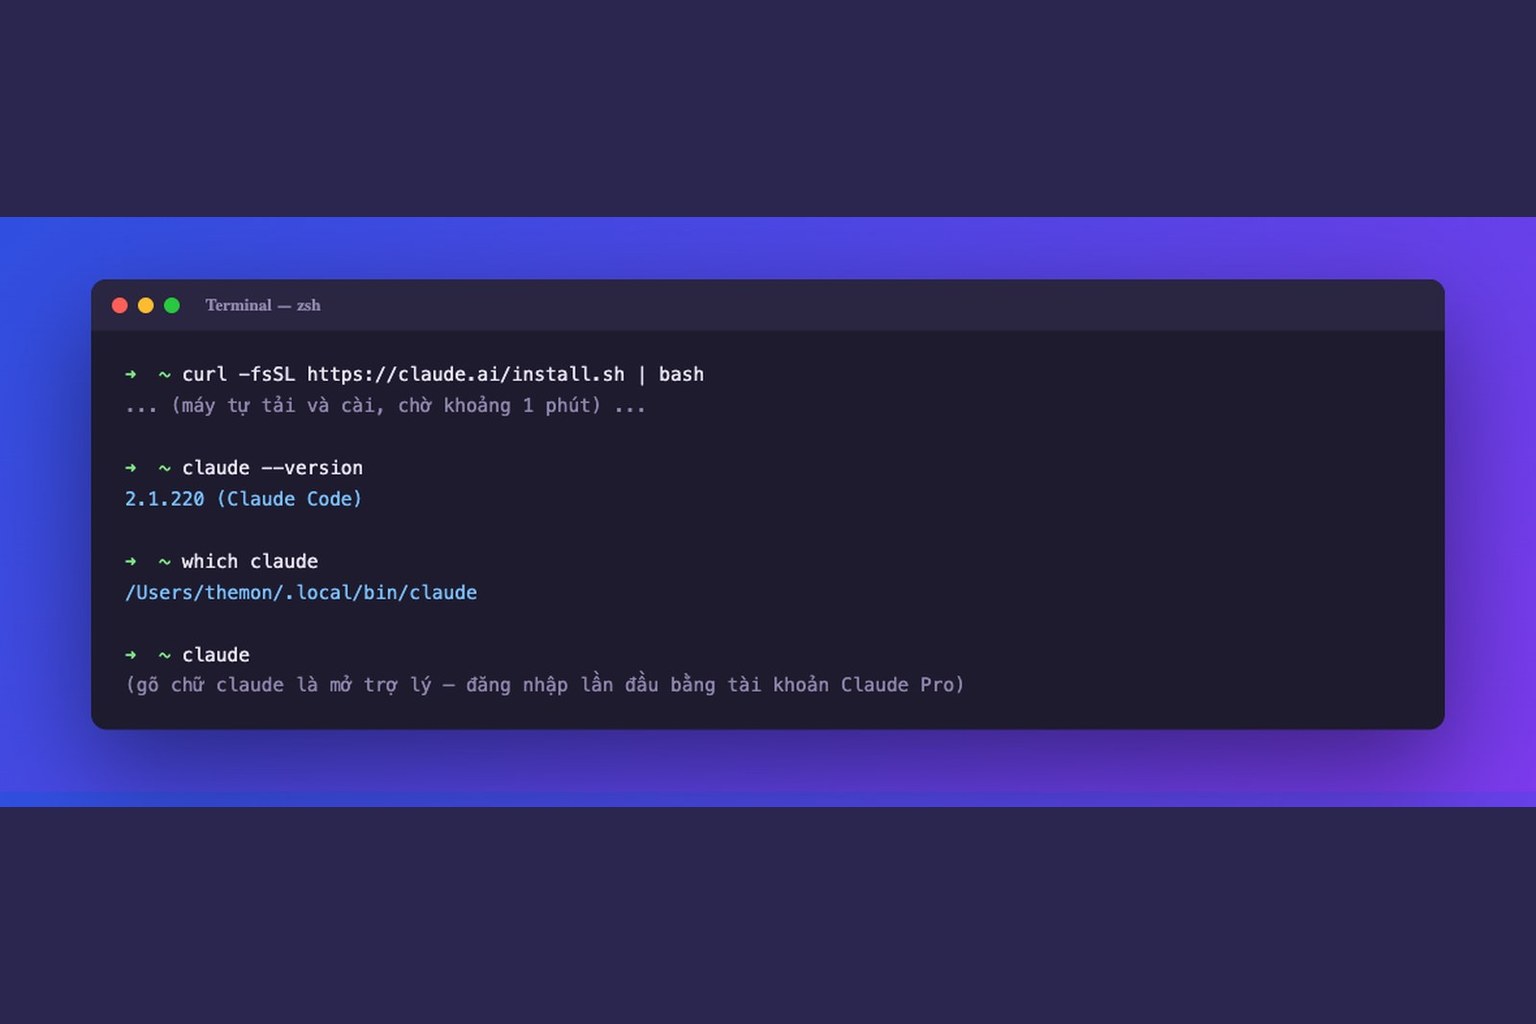
claude.
While the machine runs, you'll see it show a task list it set for itself and tick off items one by one. If you want to step in midway, hit stop, add instructions, then let it continue. That's the normal rhythm of working with an agent: you set the brief and approve, the machine runs the work.
What you just built is sitting on your own computer, and outsiders can't see it yet. To let the whole world access it, you have to put it online (people in the trade call this deploying), through services like Netlify or Vercel. There's a separate lesson on this at the end of the course; for now just tell two concepts apart: building is making the product on your machine, and of work is putting it on the internet for others to use. And when that website is going to be your long-term business face, needing to be done properly from security to load speed, that's when to talk to a professional (we analyzed this in detail in our article on agentic vibe coding for businesses on mona.media).
Lesson 3 is about what separates strong AI users from mediocre ones, and also the survival habit when you let machines do real work: verification. Why “looks done” isn't the same as done, and how to make the machine prove it did it right.

CEO & Founder · The MONA
The founder of The MONA built a service company of 60+ staff with 14,000+ projects delivered. Khánh Hùng shares his thinking on building self-running systems, automating a business, and the real lessons behind MONA's projects.
 255




Professional website
design services
Own a website with a beautiful, 100% exclusive design and a lifetime warranty, with the ability
to expand features flexibly as your business grows, starting today!






 MONA will never sell your information or send you spam


 MONA will never sell your information or send you spam
